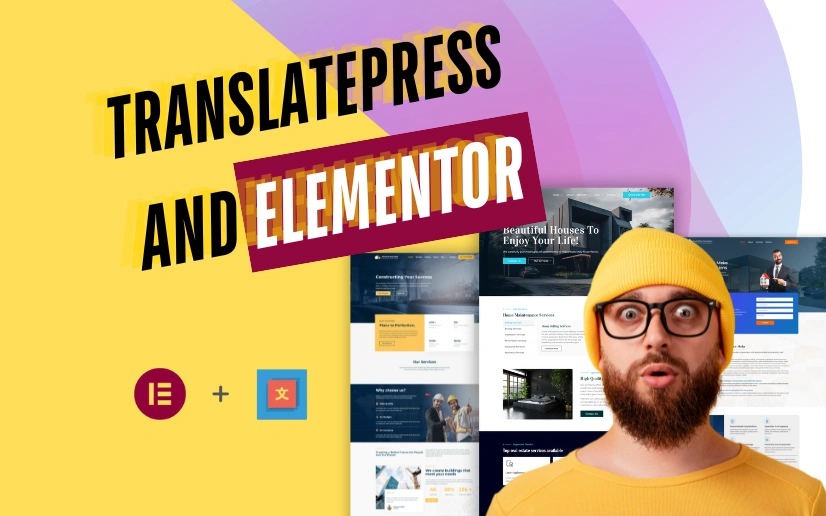
In today’s globalized world, creating a multilingual website is essential for reaching a broader audience. Elementor, a leading page builder for WordPress, combined with TranslatePress, a powerful translation plugin, makes it easier than ever to build and manage a multilingual site. This guide will walk you through the process of setting up a multilingual website using Elementor and TranslatePress.
Why Choose TranslatePress for Your Multilingual Website?
TranslatePress stands out as an intuitive and effective solution for translating your WordPress site. Here are some of the key reasons to choose TranslatePress:
- Visual Translation Interface: TranslatePress offers a front-end visual translation interface, making it easy to translate content directly on your website.
- Elementor Compatibility: Seamlessly integrates with Elementor, ensuring that your designs and layouts remain consistent across different languages.
- Automatic Translation: Supports automatic translation with Google Translate and DeepL, which can be refined manually for greater accuracy.
- SEO-Friendly: Ensures that your translated content is optimized for search engines, helping your multilingual site rank well.
- Ease of Use: User-friendly interface that simplifies the translation process, even for beginners.
Step-by-Step Guide to Creating a Multilingual Website
1. Install and Activate TranslatePress
To get started, you’ll need to install and activate the TranslatePress plugin:
- Go to your WordPress dashboard.
- Navigate to Plugins > Add New.
- Search for “TranslatePress” and click Install Now.
- After installation, click Activate to enable the plugin.
2. Configure TranslatePress Settings
Once TranslatePress is activated, you need to configure the basic settings:
- Go to Settings > TranslatePress in your WordPress dashboard.
- Select the Default Language of your website.
- Add the Languages you want to translate your site into by selecting them from the dropdown menu.
- Save your changes.
3. Enable Automatic Translation (Optional)
If you want to use automatic translation, follow these steps:
- In the TranslatePress settings, navigate to the Automatic Translation tab.
- Choose your preferred translation engine (Google Translate or DeepL).
- Enter the required API key for the chosen translation engine.
- Enable automatic translation and save your changes.
4. Translate Your Content
Now it’s time to start translating your content using TranslatePress’s visual interface:
- Navigate to any page or post you want to translate.
- Click the Translate Page button in the WordPress admin bar.
- This will open the visual translation editor, where you can click on any text to translate it.
- Enter the translation in the sidebar and save your changes.
Repeat this process for all the pages and posts you want to translate.
5. Translate Elementor Content
Since TranslatePress is fully compatible with Elementor, you can easily translate all your Elementor-created content:
- Open any page built with Elementor.
- Click the Translate Page button in the WordPress admin bar.
- Use the visual translation editor to translate all the Elementor widgets and content blocks.
6. Translate SEO Metadata
To ensure your multilingual site is SEO-friendly, translate all relevant SEO metadata:
- Go to Settings > TranslatePress > SEO.
- Enable the option to translate SEO metadata.
- Use the visual translation editor to translate SEO titles, descriptions, and other metadata.
Managing Your Multilingual Website
After setting up and translating your content, here are a few tips for managing your multilingual website:
- Regularly Update Translations: Keep your translations up-to-date whenever you add new content or make changes to existing content.
- Monitor Performance: Use Google Analytics and other tools to monitor the performance of your multilingual site and make improvements as needed.
- User Experience: Ensure that the user experience is consistent and seamless across all languages.
Conclusion
Creating a multilingual website with TranslatePress and Elementor is a straightforward process that opens up your site to a global audience. By following the steps outlined in this guide, you can effectively manage translations and provide a seamless user experience across different languages. Embrace the power of multilingualism and watch your website reach new heights!
FAQ
1. Is TranslatePress compatible with other page builders besides Elementor? Yes, TranslatePress is compatible with other popular page builders like Beaver Builder, Divi, and Gutenberg.
2. Can I use TranslatePress with WooCommerce? Yes, TranslatePress works well with WooCommerce, allowing you to translate all your product pages, categories, and checkout process.
3. How does TranslatePress handle dynamic content? TranslatePress can translate dynamic content generated by themes and plugins. You can translate strings from the front-end using the visual editor.
4. Is there a free version of TranslatePress available? Yes, TranslatePress offers a free version with basic features. For advanced functionalities, you can upgrade to the premium version.
5. Can I translate media files with TranslatePress? Yes, you can translate image alt texts, captions, and other media-related content with TranslatePress.